How-to guide
How to Create Markerless WebAR
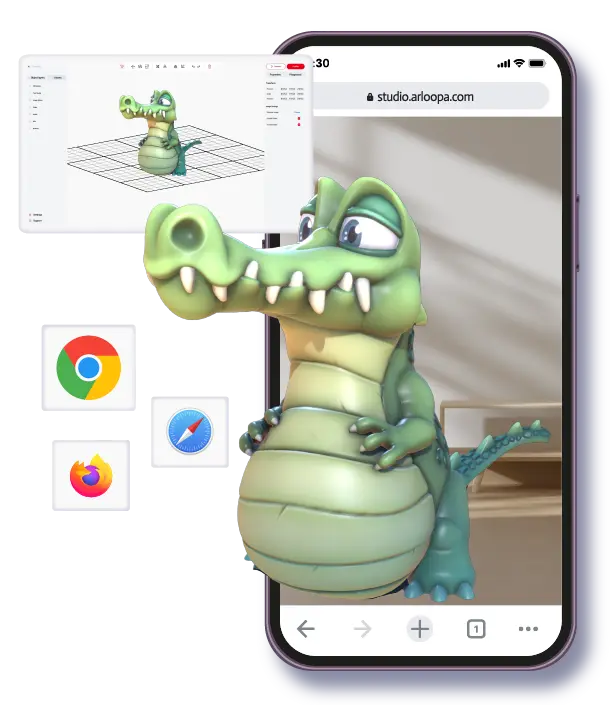
Markerless WebAR combines free placement with browser delivery. In Studio, the flow starts by choosing `Markerless AR`, then selecting `Web AR` as the destination before moving into the content-type step. The result is a surface-tracked experience that opens in the browser rather than in an app. This is often the right route when the campaign needs low-friction access but still wants a placed 3D object, scene, or media layer in the user environment.
Best for
Campaigns that need free placement in the browser, such as fast product previews, trade-show demos, and lightweight spatial promotions.
Watch out for
Browser convenience does not replace the need for strong placement guidance, especially when users are seeing surface tracking for the first time.
ARLOOPA fit
ARLOOPA Studio gives teams a browser-ready markerless flow without pushing them into a developer-first WebXR toolchain.
Use case fit
When markerless WebAR is the better route
Choose markerless WebAR when you need the audience to place content in the environment but you cannot afford a heavy app-first onboarding path. This is common in acquisition campaigns, event promotions, product storytelling, and early pilots where reach matters more than a deeper app relationship.
The main question is whether the placement interaction can stay simple enough for a browser entry point. If the answer is yes, this route can be one of the most accessible spatial AR formats.
- •Use it when free placement and low entry friction both matter.
- •Choose it for browser-led product previews and event demos.
- •Avoid it if the audience journey already assumes an app environment.
Studio steps
How to create markerless WebAR in ARLOOPA Studio
This guide is for surface placement in the browser. The goal is to keep the experience easy to open and easy to place.
If the first placement feels confusing after publishing, simplify the asset or the instructions and publish again.
Before you publish, use the Studio preview to check the scene settings and asset quality.
- 1Click `Create experience` in Studio.
- 2Choose `Markerless AR`.
- 3When the destination options appear, click `Web AR`.
- 4Choose the content type you want to place on a real surface.
- 5Upload or generate the asset and check that it loads well for mobile browsers.
- 6Review the browser preview in Studio and make sure the setup looks correct.
- 7Click `Publish` to generate the live browser experience.
- 8Open the published experience on a phone, point the camera at a floor or table, and place the content.
Preparation
What to prepare for a browser-based surface-tracking flow
The most important preparation point is user clarity. Free placement in the browser works best when the object is not too complex, the first instruction is obvious, and the user receives value quickly after placement. A beautiful asset can still underperform if the onboarding is vague.
Teams should also keep browser performance in mind. Lighter scenes, clear scale, and short time-to-value usually outperform ambitious builds that delay the first useful moment.
- •Use lightweight assets where possible for faster mobile browser loading.
- •Give users one simple first placement action.
- •Test placement on the actual surfaces and lighting conditions expected at launch.
- •Design the experience so value appears quickly after the object is placed.
Launch guidance
Where markerless WebAR usually performs best
This route performs best in early-funnel experiences that still need a spatial effect. It is especially useful for product teasers, event demos, branded social sharing moments, and lightweight education or museum previews where the browser keeps entry easy.
If the experience needs deeper repeat engagement, more app context, or broader in-app continuity, the app destination may be the stronger option instead.
- •Browser-based product visualization and object placement.
- •Event and trade-show spatial previews.
- •Lightweight branded activations that need quick access.
- •Pilots that test surface-tracked AR before moving to a larger rollout.
FAQ
How to Create Markerless WebAR FAQ
What changes when I choose Web AR in the markerless flow?
The experience still uses surface tracking, but the audience opens it in the browser instead of the ARLOOPA app.
Is markerless WebAR good for product visualization?
Yes. It is one of the clearest use cases because users can place a product or object in their own environment without installing an app first.
Do I need a printed trigger for markerless WebAR?
No. Markerless AR uses surface detection rather than a printed image marker.
What is the main challenge in markerless WebAR?
The main challenge is keeping the placement interaction simple and stable enough for a browser-first user journey.
Existing Studio pages
Related Solutions
Use these established Studio pages when you need deeper solution or industry detail beyond this guide.
Product Visualization
Help buyers understand products in 3D and AR before purchase. Build product demos, placement previews, and interactive product stories without coding.
Open pageEvent Experiences
Create AR booth experiences, trade show activations, sponsorship layers, scavenger hunts, and product reveals with WebAR and no-code AR tools that increase attendee engagement.
Open pageARLOOPA Studio
Create WebAR, image-tracked, markerless, face-tracked, and geospatial AR experiences without code. Build, publish, and manage AR campaigns faster with ARLOOPA Studio.
Open pagePricing
Compare ARLOOPA Studio pricing plans for WebAR, geospatial AR, image tracking, and no-code AR creation, and choose the right option for your team or business.
Open pageContinue reading
Related Reading
These supporting guides answer the next practical questions readers usually have before launching an AR project.
WebAR Platform Guide
Compare WebAR platforms by mobile access, publishing control, supported formats, and whether a non-technical team can actually run them after launch.
Read guideHow to Create Markerless AR
Create markerless AR for surface placement, product previews, education objects, and mobile testing workflows in ARLOOPA Studio.
Read guideHow to Create a 3D Model AR Experience
Use the 3D file content type to place uploaded models inside marker, surface, location, face, or geospatial AR flows.
Read guideHow to Create an Empty-Scene AR Experience
Use the empty-scene content type when you want a clean starting point instead of beginning from one uploaded media asset.
Read guide