1
Upload the final invitation artwork
Use the print-ready file of the main card, or the engagement photo that appears on it. Upload it only after proofs are approved.
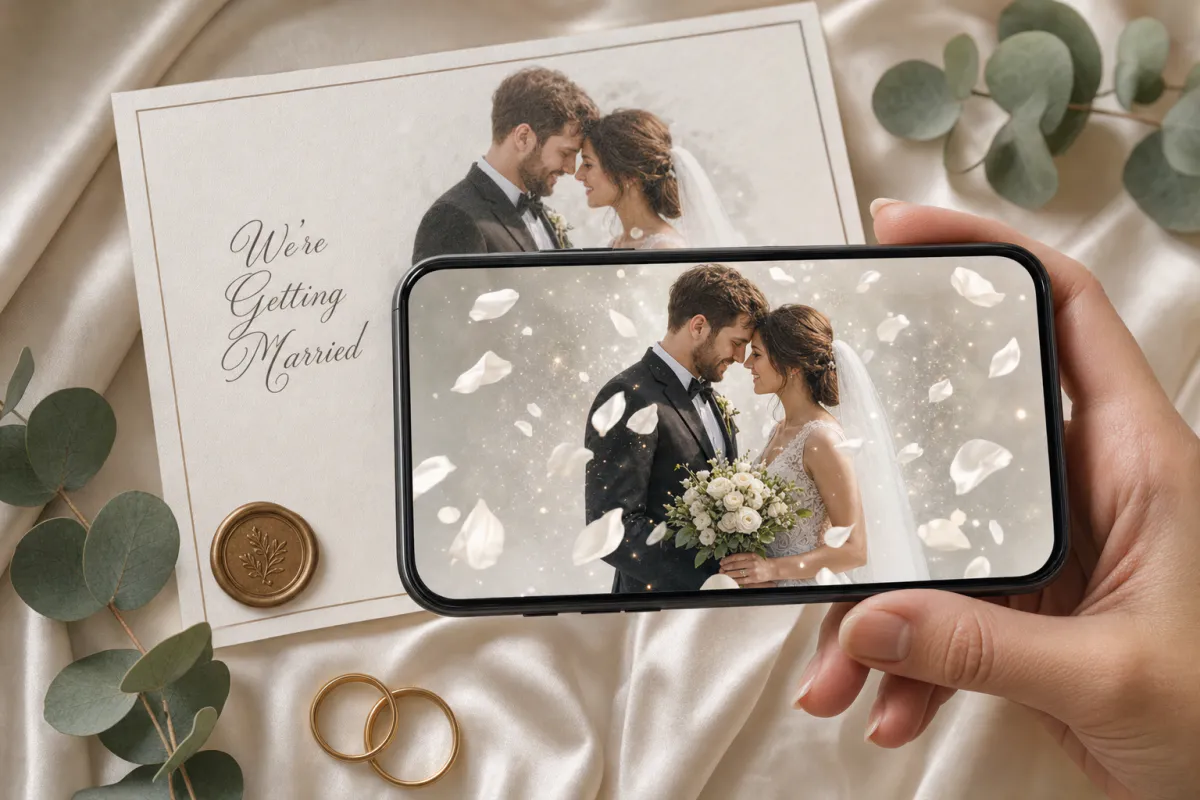
Give guests a first glimpse of the day before they arrive. Upload the main card of your invitation suite or a favorite engagement photo, and Studio adds drifting petals, delicate sparkles and a soft romantic glow that plays over the printed invitation when it is scanned.
Best for
Couples planning printed invitations, stationers adding a premium option to a suite, and planners matching invitations to day-of signage.
What it creates
A marker-based AR invitation: the printed design is the scan target, and a short AI-animated version of it plays on top.
Guest-friendly
WebAR opens from a QR code in the phone browser, which matters when your guest list spans several generations and countries.
Step by step
The builder opens with a wedding preset: the experience is named “Wedding AR invitation” and the prompt asks for drifting petals, soft sparkles and an elegant mood while leaving faces and composition untouched.
Use the print-ready file of the main card, or the engagement photo that appears on it. Upload it only after proofs are approved.
The preset is soft and romantic. For a garden wedding you might add “leaves sway in the breeze”; for an evening venue, “candlelight glows across the scene.”
Web AR means guests only need a phone camera. Add the ARLOOPA app as well if you want it there too.
Studio creates a short AI video from your artwork and connects it to the printed card. Check the coin estimate first and watch the result before printing.
Ask your stationer for one printed proof, scan it on a couple of phones, and only then release the full run.
Planning
Invitations usually go out six to eight weeks before the wedding, with RSVPs due about a month ahead. Because the AR step depends on the final artwork, it belongs right after design approval and right before printing, not at the last minute.
Build in a few days for a printed proof. Finishes like foil and letterpress can change how the card looks to a camera, and you want to discover that on one proof rather than on a box of 150 invitations.
Guest experience
Guests should never need the AR to understand the invitation. Keep the names, date, venue and RSVP instructions printed clearly, and treat the animation as a bonus that rewards anyone who scans.
A short line like “Scan to see our invitation come alive” next to the QR code removes the guesswork for older relatives. Stationers, photographers and planners can bundle this as an add-on, and the same artwork can reappear on a welcome sign so guests scan it again at the venue.
Print tips
A suite has several pieces, but only one should carry the AR: usually the main invitation card. RSVP cards, details cards and envelope liners can stay as they are, which keeps the experience simple and the QR code in one obvious place.
Elegant designs are often sparse, with lots of white space and fine script, and that gives a camera little to hold onto. An engagement photo, a watercolor of the venue or a dense floral border makes a much stronger target than a centered monogram.
FAQ
No, if the invitation is published as WebAR. Guests scan the QR code with their camera, the experience opens in the browser, and they point the phone at the card.
Usually the main invitation card, since every guest looks at it first. Keep RSVP and details cards as normal printed pieces so the experience stays easy to find.
It can. Shiny foil reflects light and deep letterpress changes the surface, so keep those finishes away from the main image and test a printed proof before ordering the full run.
Yes. Anyone with a Studio account can build the AR invitation from the final artwork, so stationers, photographers and planners can offer it as part of their service.
Yes. The experience can be opened in the Studio editor after generating, so you can change the content while the printed card stays the same.
More templates
Every occasion uses the same quick workflow: upload a photo, add AI motion, share as WebAR.
Birthday AR card template
Milestone birthdays, cards for grandparents and friends far away, kids’ party invitations and birthday greetings from small businesses to regular customers.
See the guideSave the date AR card template
Engagement photo save the dates, destination weddings with guests abroad, and photographers who want to deliver more than a gallery after an engagement session.
See the guideBaby announcement AR card template
Birth announcements, pregnancy announcements for grandparents, adoption announcements and newborn photographers looking for a keepsake add-on.
See the guide


Solutions
ARLOOPA Inc. 2026